Getting Started
To interact with the Zivio API, you first need to create an API key within your Zivio platform. You can find out how to do this is in the following section.Creating an API Key
First, navigate to the ‘Admin’ tab in your navigation menu, and click on ‘Admin Dashboard’. There you will see a list of options, as in the image below: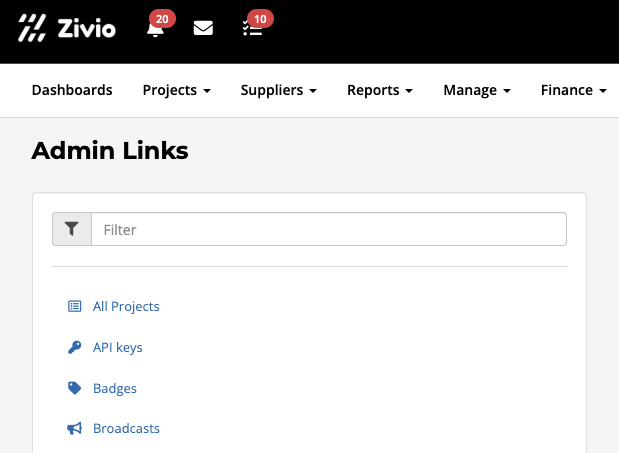

Making an Example Request
Before making a request to the Zivio API, make sure you have noted down your token value. When making a request, ensure you have set your token value in the headers like so:GET) and make your request to your normal Zivio URL, adding /api/v3 (e.g. https://demo.zivio.com/api/v3) and the endpoint that you would like to access.
For example, if you are trying to fetch all bank accounts, you would make a GET request to https://demo.zivio.com/api/v3/bank_accounts.
For more information, including the structure of the response for each endpoint, please see the api-reference section.